You’re about to undertake a pivotal home improvement project that’ll safeguard your Annapolis property from Maryland’s unpredictable weather patterns and coastal moisture challenges. Interior waterproofing your basement requires meticulous preparation and attention to detail – from initial moisture mapping to structural evaluation. Before you begin the actual waterproofing process, you’ll need to maneuver through several essential preparatory steps that can make the difference between a successful, lasting solution and a temporary fix.
Key Takeaways
- Remove all items from basement walls and floors, including stored items, furniture, and debris to allow full access for waterproofing.
- Clean surfaces thoroughly with degreasing agents and ensure complete drying before beginning any waterproofing work.
- Monitor and record basement humidity levels using moisture detection equipment to identify problem areas requiring special attention.
- Obtain necessary building permits through Annapolis’ Land Use Navigator system before starting any waterproofing modifications.
- Fill visible foundation cracks with hydraulic cement and verify proper exterior grading slopes away from the house.
Professional Assessment and Documentation
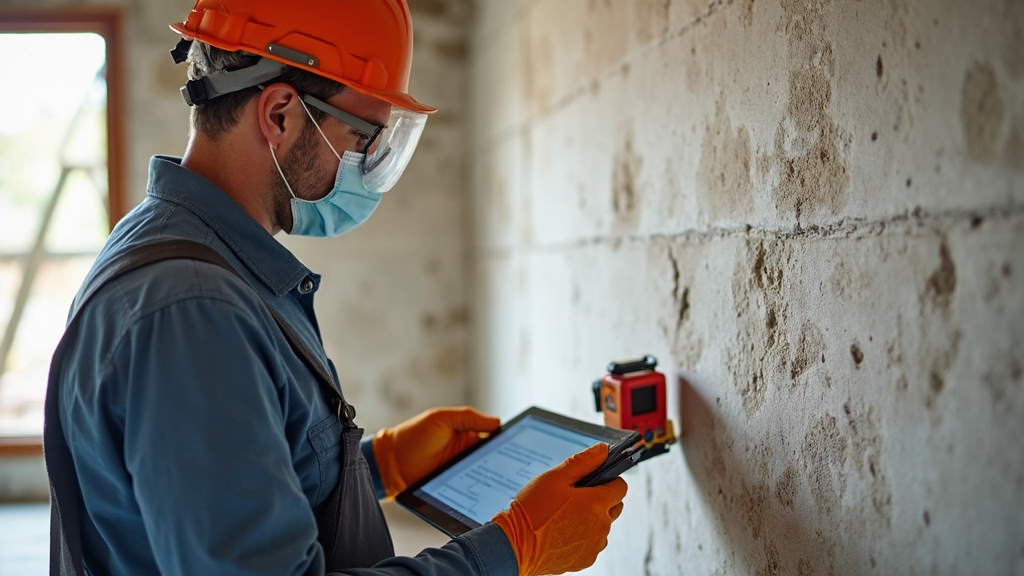
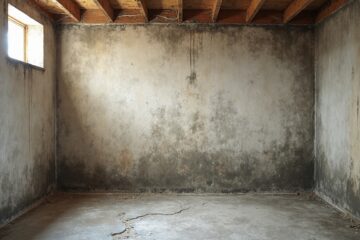
Before undertaking any basement waterproofing project, you’ll need a thorough professional assessment to identify potential water intrusion points and existing damage. A qualified inspector will employ advanced moisture detection techniques to examine both interior and exterior areas of your basement, documenting signs of water infiltration and structural concerns. High humidity levels in the Mid-Atlantic region make moisture testing particularly critical for preventing mold growth.
During the structural integrity evaluation, your inspector will assess foundation cracks, wall stability, and floor conditions while checking the effectiveness of your current drainage systems. They’ll examine your gutters, downspouts, and surrounding scenery to understand how external factors affect your basement’s moisture levels. You’ll receive a detailed report outlining all findings, recommended solutions, and potential warranty requirements. This documentation becomes essential for tracking progress and maintaining records of any waterproofing work performed.
Preparing the Space and Structure
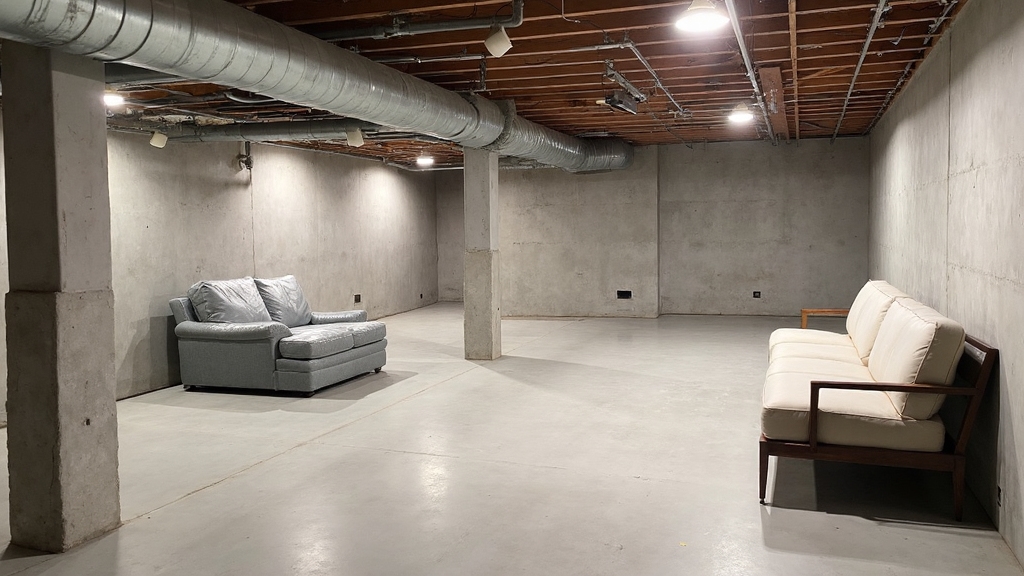
With your professional assessment complete, you’ll need to convert your basement into a proper worksite for waterproofing installation. Start by removing all stored items, furniture, and debris to expose your walls, floors, and corners.
Cover or relocate HVAC equipment, electrical panels, and plumbing fixtures to prevent damage during the process. With over 27 years of experience, our team can guide you through proper preparation procedures.
Next, thoroughly clean all surfaces with degreasers and allow them to dry completely. Fill minor cracks with hydraulic cement and smooth rough concrete areas through grinding.
For contractor communication, verify access points for equipment delivery and coordinate utility shutoffs if needed. Handle scheduling logistics by establishing clear timelines for installation and drying periods, ensuring proper ventilation requirements are met.
Document existing damage with photos for contractor reference and organize necessary tools and materials before work begins.
Managing Moisture Levels
Since moisture control forms the foundation of effective basement waterproofing, you’ll need to identify and address multiple sources of water infiltration. Start by monitoring your basement’s humidity levels with a hygrometer and identifying key moisture entry points through condensation, groundwater seepage, or vapor migration. Ensure your property has proper grading slope to direct water away from your foundation.
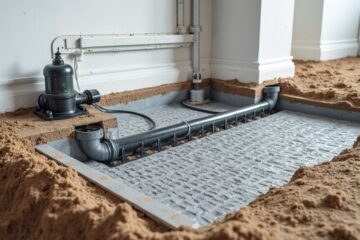
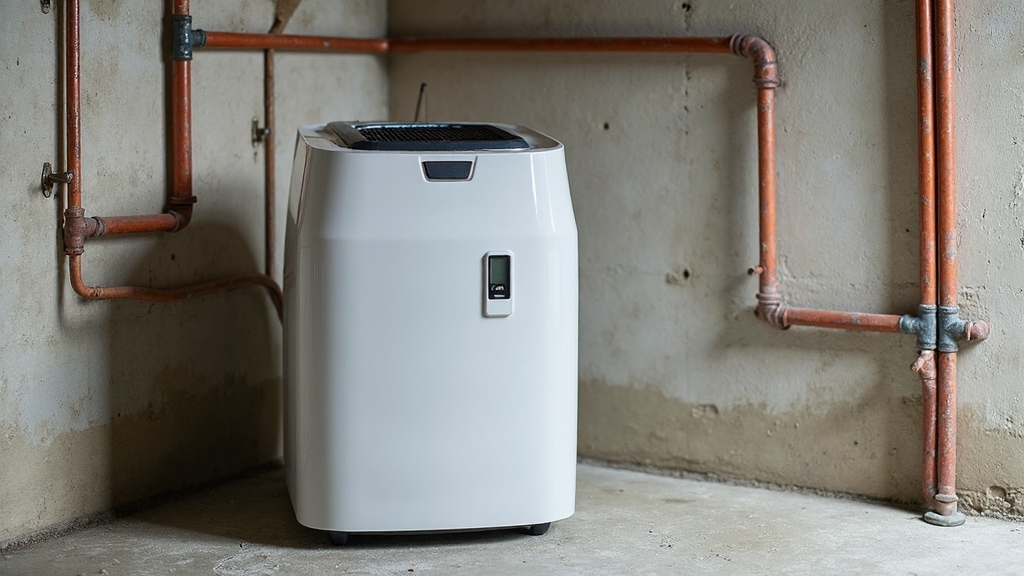
Install appropriately sized dehumidifiers based on your basement’s square footage and moisture levels. Focus on proper vapor barrier installation along walls and floors to prevent ground moisture from penetrating the space. You’ll need to examine your foundation for cracks and seal them promptly. Consider upgrading your ventilation system to improve air circulation and reduce condensation.
Regular maintenance of these moisture control systems, including cleaning dehumidifier filters and inspecting vapor barriers, will confirm long-term effectiveness of your waterproofing efforts.
Essential Materials and Equipment
Undertaking a basement waterproofing project requires a thorough set of specialized materials and equipment to ascertain successful implementation. You’ll need to focus on selecting durable materials like hydraulic cement, waterproofing paint, and concrete sealers that can withstand Annapolis’s varying climate conditions.
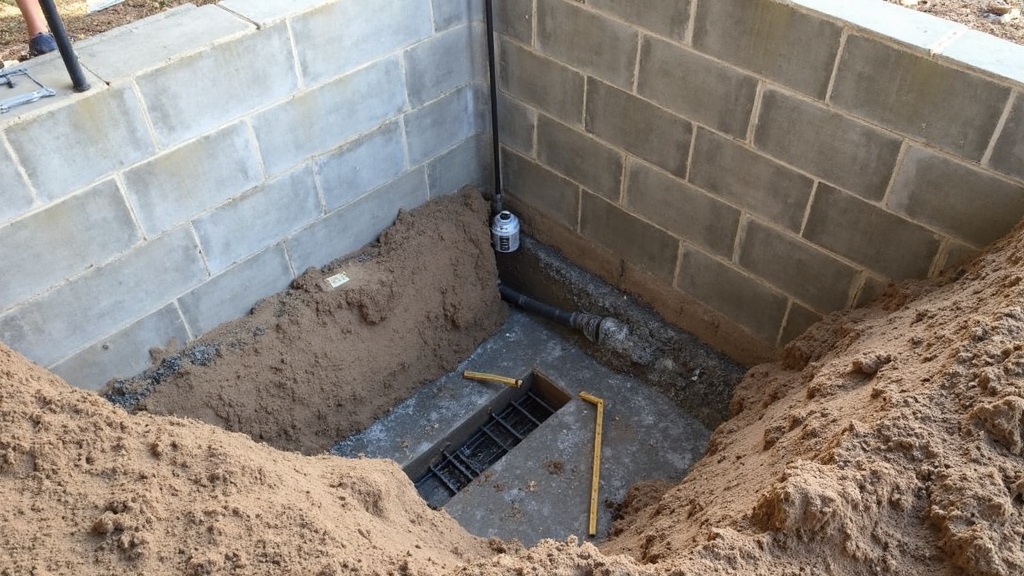
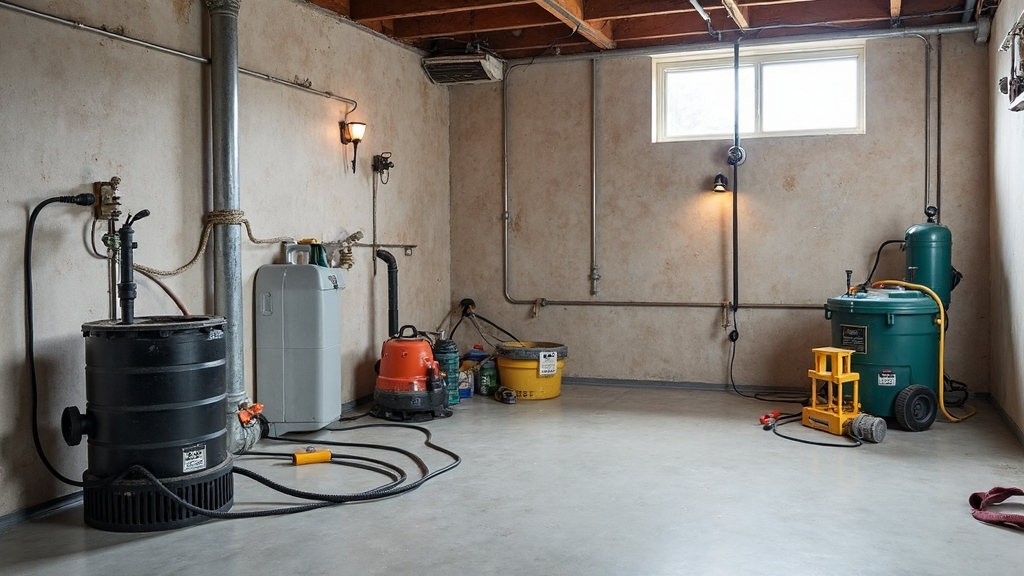
When excavating and trenching, make certain you have essential tools including an excavator, breaker hammers, and proper drainage materials. Modern waterproofing systems like Fast Track Basement require significantly less trenching work compared to traditional methods.
- Your safety equipment must include hard hats, steel-toed boots, and protective eyewear – compromising on these could lead to serious injuries
- Essential waterproofing products like VaporBright barriers and FloorGuard kits will provide long-lasting moisture protection
- Power tools and specialized equipment must be readily available to handle unexpected challenges during installation and prevent costly delays
Permits and Local Compliance Requirements
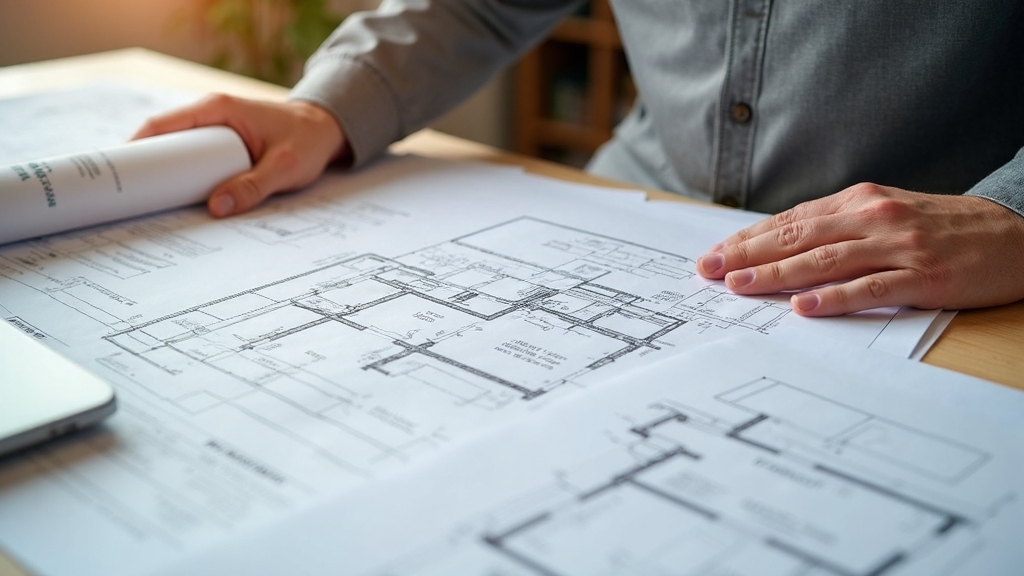
Before commencing your basement waterproofing project in Annapolis, you’ll need to secure appropriate permits through the Citizen Self Service Portal. Building permits are mandatory for any waterproofing work involving material application, drain installation, or sump pump integration.
You’ll need to coordinate with inspectors at multiple stages: footing, drain tile, waterproofing membrane application, wall checks, and final trade inspections. If your property falls within Critical Area boundaries, expect extended review periods and additional environmental restrictions.
To avoid municipal violations, guarantee your contractor holds valid licenses and submit detailed plans for any structural modifications. Remember, plumbing permits for sump pump installations remain valid for two years unless tied to a building permit. For complex projects, consider scheduling a pre-application meeting to clarify specific compliance requirements. You can submit your permit application through the Land Use Navigator system online, in person at the Permit Center, or by mail.
Final Pre-Installation Checks
With permits secured, your attention must shift to conducting thorough pre-installation inspections of your basement. Before waterproofing work begins, you’ll need to evaluate your basement’s structural integrity and guarantee utility accessibility throughout the space. Clear out all stored items, run dehumidifiers to reduce moisture, and document existing conditions with photos and moisture readings.
Your basement’s safety depends on thorough crack and leak detection – don’t skip checking every corner and crevice for potential water entry points. Pay special attention to wall and floor joints as these areas commonly develop leaks. Your home’s value relies on proper drainage system functionality – confirm your sump pump is working and drainage channels are clear. Your family’s health is at stake – carefully inspect for mold growth and verify proper ventilation during the entire process.
Conduct a methodical structural evaluation and validate all utilities are properly marked and accessible before proceeding with waterproofing installation.
Frequently Asked Questions
How Long Does Interior Waterproofing Typically Last in Maryland’s Climate?
You’ll get 10-20 years from your interior waterproofing in Maryland, but the expected lifespan depends heavily on your seasonal maintenance requirements and the quality of initial installation.
Can I Live in My Home During the Waterproofing Process?
You can stay in your home during interior waterproofing, though you’ll experience noise and limited basement access. You won’t need to vacate the premises, but prepare for some disruption during work hours.
Will Waterproofing Affect My Home’s Resale Value in Annapolis?
You’ll substantially increase your home’s resale appeal through waterproofing, potentially elevating value by 30%. Buyers value the enhanced property marketability and reduced maintenance costs a protected basement provides.
What Happens if Mold Is Discovered During the Waterproofing Preparation?
You’ll need to immediately isolate affected areas and consult a mold remediation expert. They’ll assess the damage, perform necessary cleanup, and guarantee the space is safe before waterproofing can proceed.
How Much Does Interior Waterproofing Cost per Square Foot in Annapolis?
You’ll find interior waterproofing costs in Annapolis range from $7.00 to $8.00 per square foot, above the national average. Local contractor selection can impact your final price within this range.
Conclusion
You’ll need to finalize your basement waterproofing preparations by conducting a thorough moisture reading verification, double-checking all sealed cracks, and confirming proper equipment placement. Guarantee your dehumidification system’s ready for operation, verify all permits are properly displayed, and document your pre-installation conditions with photos. Review your waterproofing material specifications one last time to certify compatibility with your basement’s specific requirements.